bistdunarrisch

joined 10 months ago
[–] bistdunarrisch@lemmy.world 1 points 2 weeks ago (1 children)

Interesting, how much power does the laser have to need to be able to burn the paint?

[–] bistdunarrisch@lemmy.world 2 points 2 weeks ago (1 children)

Haha, the board won‘t win any prices for sure. But for a first try I‘m still very happy.

[–] bistdunarrisch@lemmy.world 7 points 2 weeks ago

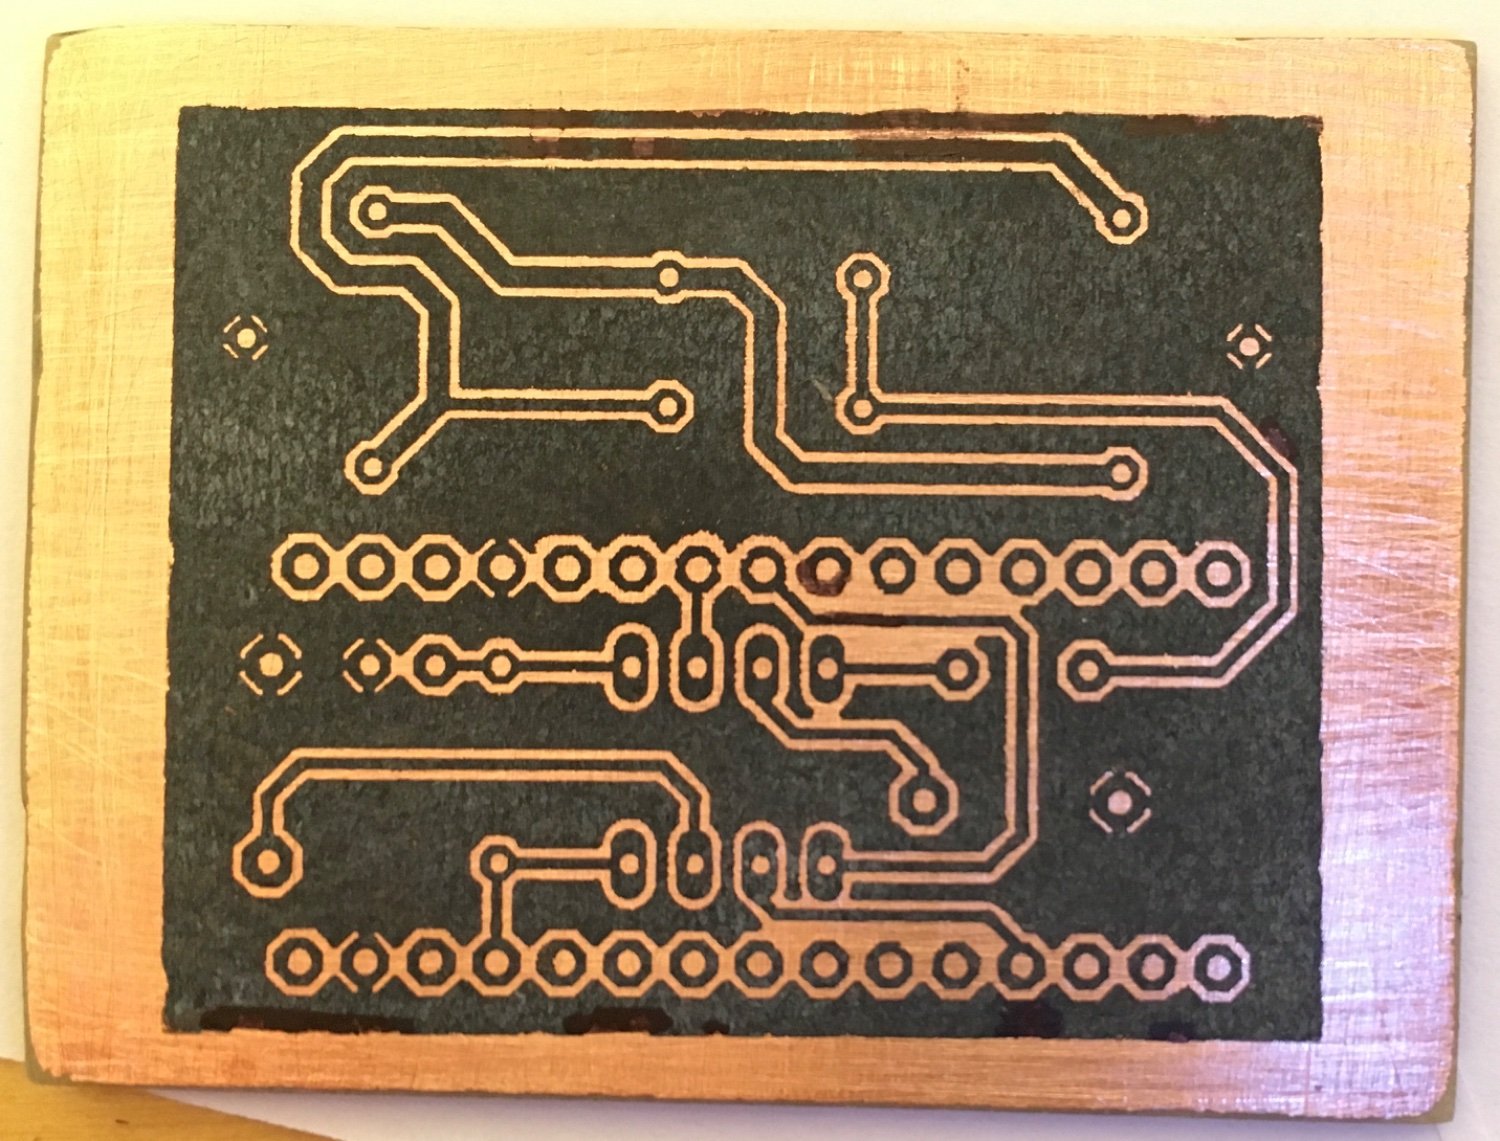
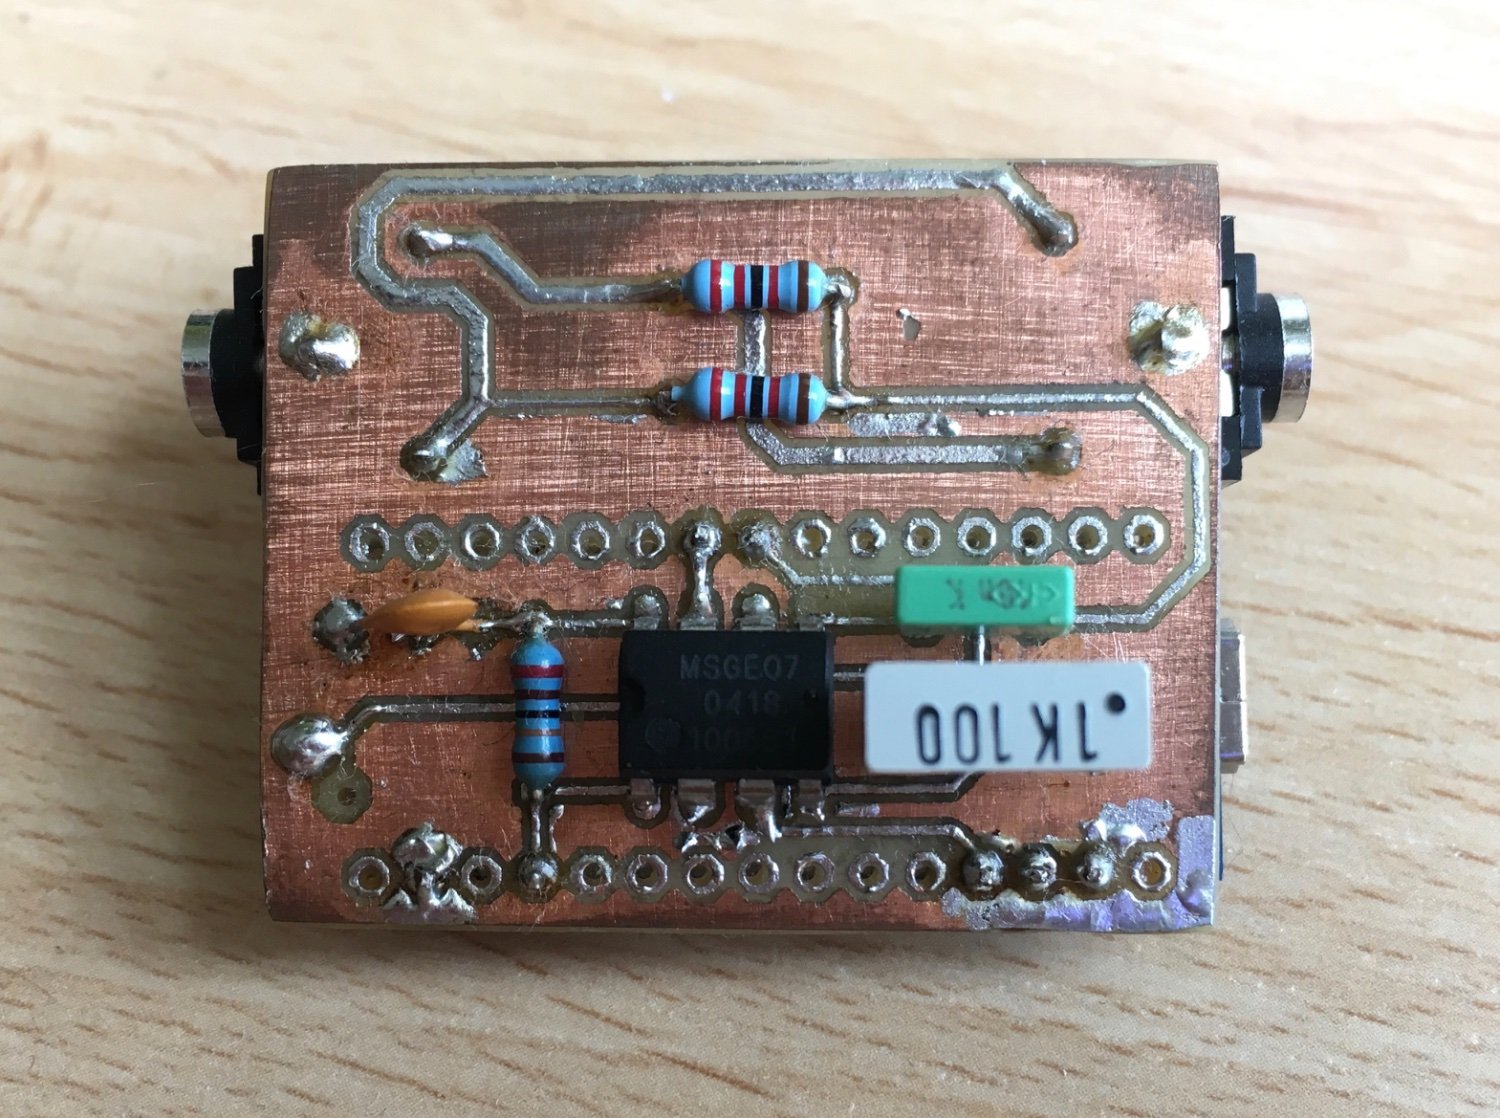
I just printed the design on a glossy paper and used an iron to transfer the toner from the paper onto the pcb (last image). The toner protects the underlying copper in the etching process, so only the free copper gets etched away. I used Na2S2O8 for etching.

[–] bistdunarrisch@lemmy.world 4 points 2 weeks ago

Yes UV is so much nicer, I also use this method now when I‘m not ordering online.


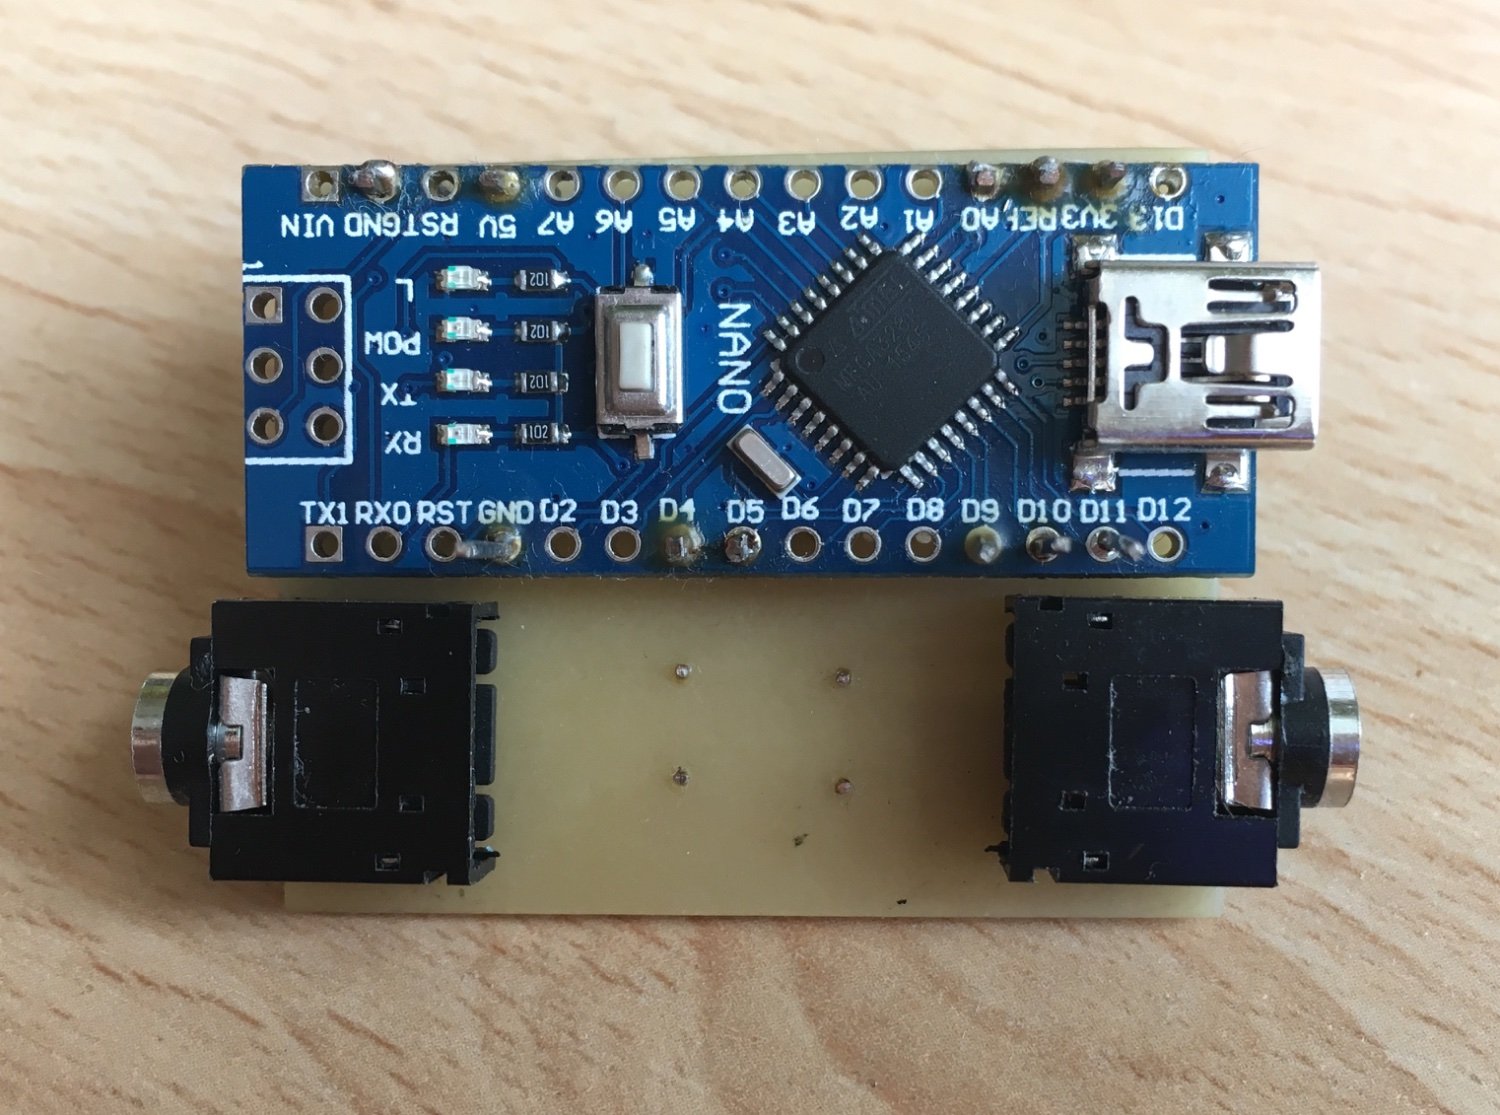
This was my first try developing my own pcb with the toner transfer method. I did this project many years back but it works perfectly to this day.

It filters an audio signal and drives led strips so they pulsate to the beat of a song.

[–] bistdunarrisch@lemmy.world 7 points 1 month ago* (last edited 1 month ago) (2 children)

I use uYou plus. It has to be installed via Altstore (which means you have to resign it once a week with a computer needed in the same network).

But it has the best features:

  • Adblock
  • Sponsorblock (automatically skips sponsor segments in videos)
  • allows pip playback
  • shows estimated dislikes again
[–] bistdunarrisch@lemmy.world 10 points 1 month ago

Tl;DR The EU makes sure that third party developers gain access to connectivity features to develop devices like smartwatches, headphones or VR headsets that have a deep integration to the OS.

It is crucial that the request process is transparent, timely, and fair so that all developers have an effective and predictable path to interoperability and are enabled to innovate.

[–] bistdunarrisch@lemmy.world 7 points 2 months ago

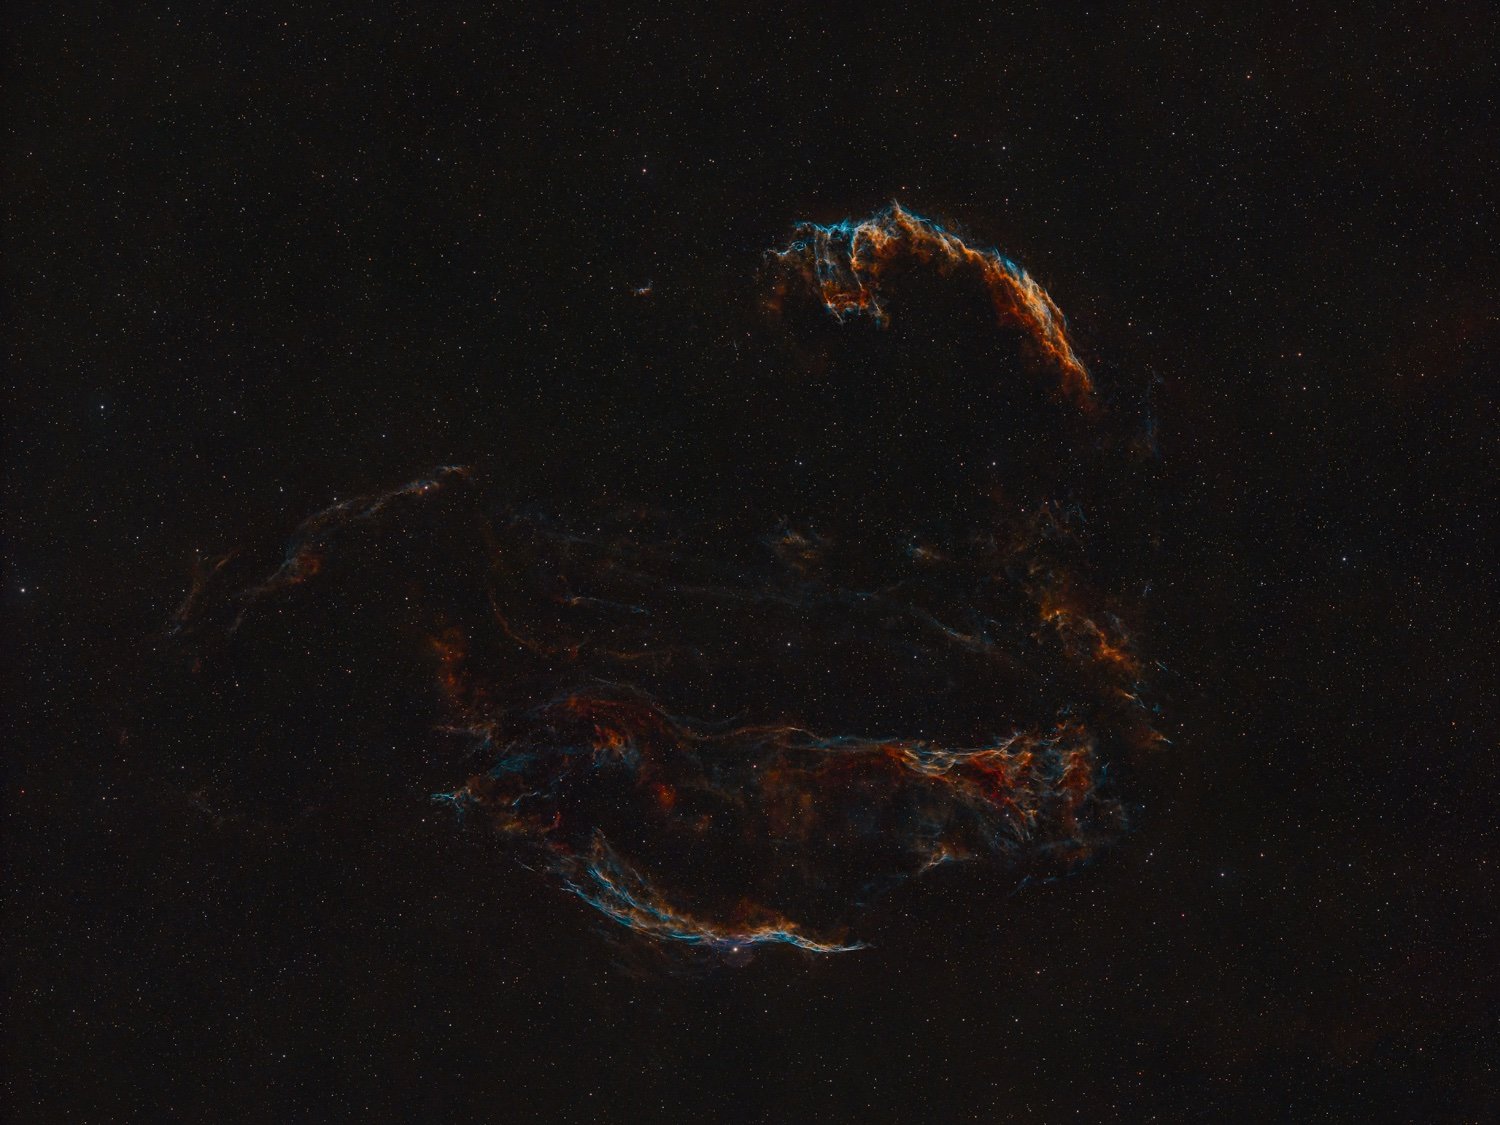
Full resolution image and more details here

Also this is what our setup looks like to shoot such an image:
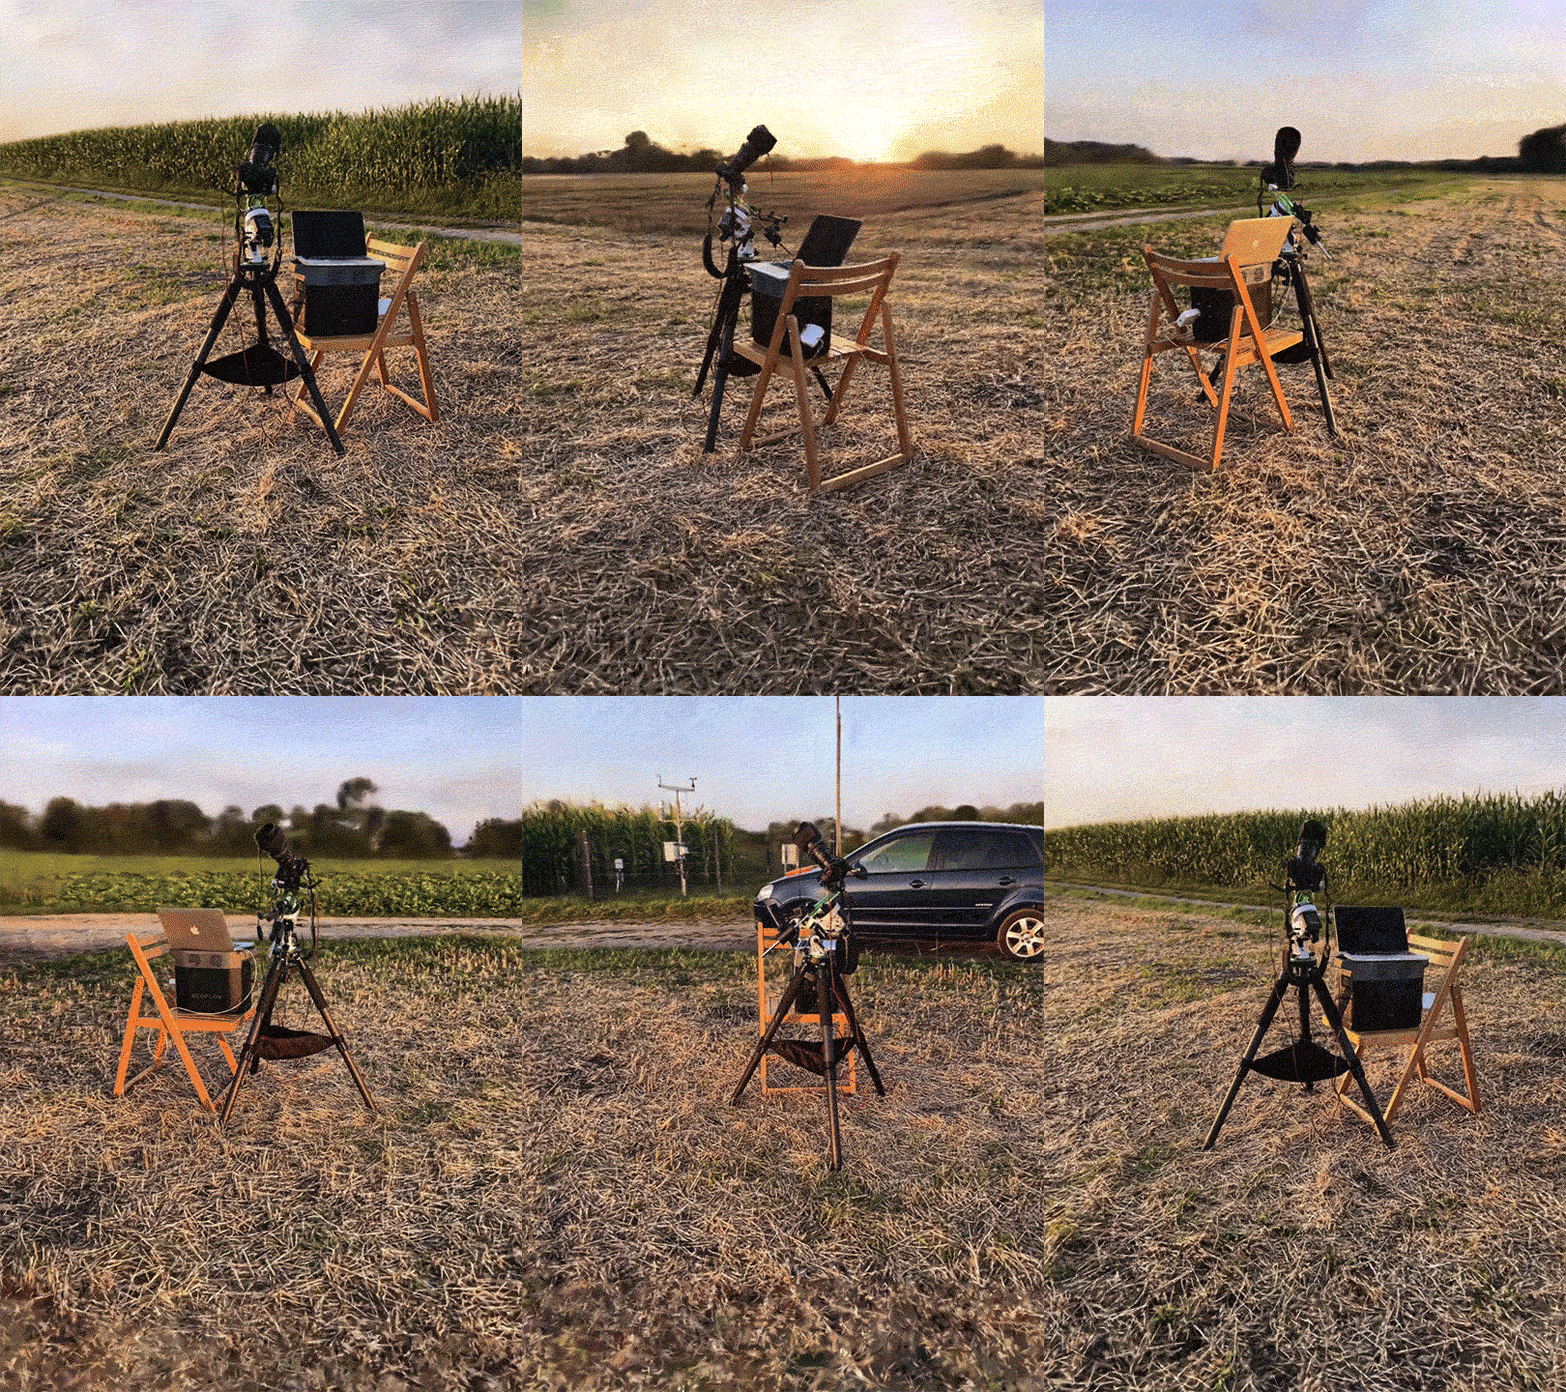
 

We shoot this image over two nights to reveal the faint structures of the veil nebula complex.

Shot with a 135mm lens and a Fuji X-T5.

[–] bistdunarrisch@lemmy.world 1 points 3 months ago (1 children)

I can recommend this online telescope simulator where you can simulate the field of view with your equipment. Your 300mm lens should be absolutely perfect

[–] bistdunarrisch@lemmy.world 2 points 3 months ago

This lens is incredibly sharp and produces nearly no coma. Also the image is super flat and the lens also works for full frame cameras. For its high image quality it‘s also used by some more advanced astrophotographers.

As I bought it new for 400€ this was a no brainer because we can also use it for 'normal' photography.

I‘m sure your lens works well for many nebulae!

[–] bistdunarrisch@lemmy.world 2 points 3 months ago

Thank you! Andromeda is way bigger than most people think. That’s the reason why it is a very (maybe the most) popular target for beginners. Also there went a lot of processing into the image, so don’t let the image deceive you from the actual conditions where I live (Bortle 5 zone)

[–] bistdunarrisch@lemmy.world 3 points 3 months ago (5 children)

The lens is the telescope in this case. But as the focal length of 135mm is fairly short it works best for objects appearing very large in the sky. Astrophotography can get very expensive very quickly, so we try to make the most out of the equipment we have. Just like with the 3d printed mount.

[–] bistdunarrisch@lemmy.world 1 points 3 months ago (7 children)

The Samyang 135mm f2.0. In some markets it‘s also called Rokinon
125
submitted 3 months ago* (last edited 3 months ago) by bistdunarrisch@lemmy.world to c/3dprinting@lemmy.world
 

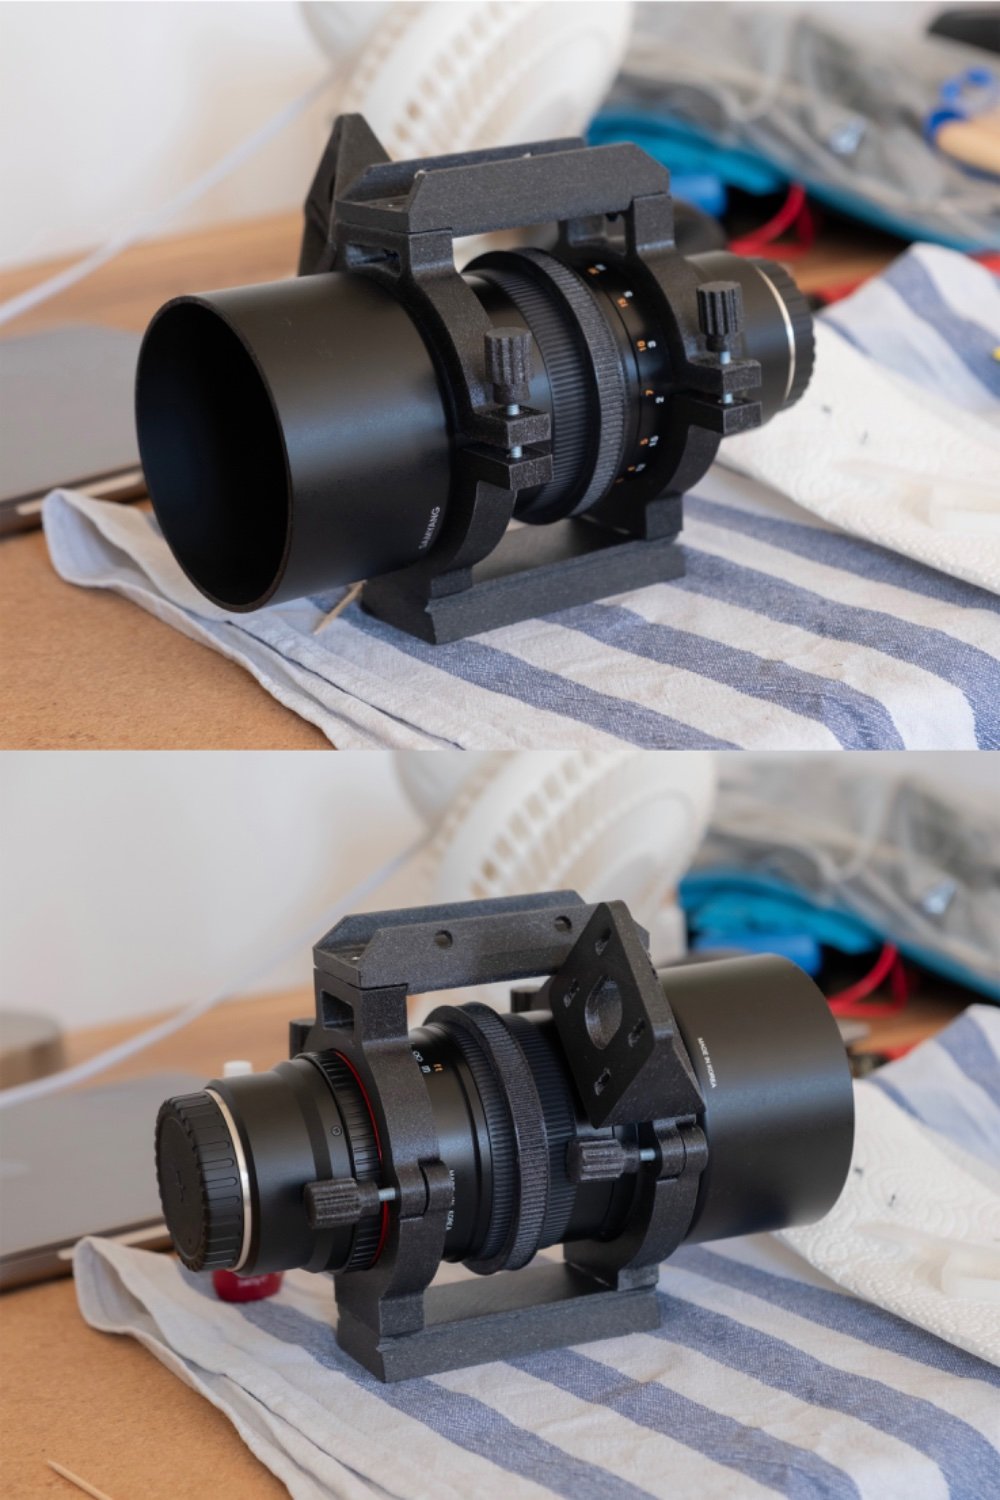
I found this design and it fitted my need perfectly. It is a mount for a very popular camera lens used in astrophotography. It not only functions as a weight relief for the camera but also allows to rotate the field of view. Moreover it is possible to focus the lens with the installation of a stepper motor, which will be the next step.

The single parts are screwed together with the help of threaded heat inserts. Just to make sure they are also glued together with epoxy, as the mount really needs to hold up. The screws are locked with Loctite.

Edit: Link to the mount (not my design): https://www.thingiverse.com/thing:6099113

0
submitted 7 months ago* (last edited 7 months ago) by bistdunarrisch@lemmy.world to c/pics@lemmy.world


This is my second try at the Andromeda galaxy. This image is shot with an ordinary camera and lens, though the work behind the image is much more than point and shot. The total exposure time is a bit more than 2 hours. For anyone interested in the workflow and equipment:

  • Samyang 135mm f2.0 lens
  • Fuji XT-5
  • 410 images shot @20s exposure time
  • calibrated and stacked in Siril
  • background extraction with GraXpert
  • star removal with Starnet++
  • stretched in Siril with GHST and levels in PS
  • final editing, star recomposition and cropping in PS
view more: next ›